How to Resize Images Without Losing Quality — The AI-Powered Guide
Tired of blurry photos? Learn how to resize images without losing quality using AI. Whether downscaling for web or upscaling low-res shots, we've got you covered.
Recommended PicFlow tool
Need to optimize images while reading?
Use PicFlow tools to compress, resize, convert, or inspect images directly from your browser.
Use PicFlow Image CompressorWe’ve all been there. You have a beautiful photo—maybe it’s a high-res shot from your camera or a logo you’ve spent hours on—and you need to change its size. You open a basic editor, type in new dimensions, hit save, and... yikes.
Suddenly, your crisp edges look like a staircase, and your vibrant colors seem slightly muddy. Or worse, you try to make a small image bigger, and it ends up looking like it was taken through a screen door.
The frustration is real because resizing seems like it should be simple. It’s just math, right? Well, that’s exactly the problem. Traditional resizing is just math, and math doesn’t know what a human face or a sunset is supposed to look like.
In this guide, we’ll explore why images lose quality when resized and how AI-powered tools like PicFlow AI help preserve sharpness and detail.
The Math Behind the Blur: Why Standard Resizing Destroys Quality
To understand how to resize images without losing quality, we first have to understand why they lose it in the first place.
Digital images are made of pixels—tiny blocks of color. When you resize an image, you are essentially telling your computer to invent new pixels when upscaling or decide which ones to remove when downscaling.
What is Interpolation?
Most standard tools use a process called interpolation. If you make an image 200% larger, the computer looks at neighboring pixels and tries to guess what should go between them.
The result is often a soft, blurry edge because the computer is simply blending colors together. It does not understand that a sharp line between a white shirt and a blue sky should remain sharp.
The Downscaling Dilemma
You might think making an image smaller is always safe. But even downscaling can cause issues. If you take a 4000px image and reduce it to 400px, the computer has to discard a large amount of visual data.
If this is done poorly, you get jagged lines, crunchy details, and a less professional-looking image.
Downscaling vs. Upscaling: Two Different Problems, One AI Solution
Resizing is not a one-size-fits-all operation. Depending on whether you are making an image larger or smaller, you are dealing with different challenges.
1. The Downscaler: Resizing for the Web
Most users are downscaling. You may have a huge file from your phone or camera, and you need it to fit your website, Shopify store, WordPress blog, or social media post.
The goal here is preservation. You want to keep the sharpness and feel of the original image while reducing unnecessary size.
Try the PicFlow AI Image Resizer to resize images quickly for web and social media use.
2. The Upscaler: Enlarging Low-Resolution Assets
This is one of the hardest parts of image editing. Maybe you have an old thumbnail, a low-resolution screenshot, or a small logo that needs to be used in a larger format.
Traditional tools usually fail here because they simply stretch pixels. AI upscaling works differently by reconstructing missing details and sharpening important edges.
AI Image Upscaling: Turning Low-Res Assets into High-Def Visuals
AI upscaling has changed what is possible with small or blurry images. Instead of simply stretching pixels, AI tools analyze the image and predict realistic details based on patterns.
For example, when AI sees a low-resolution edge of a mountain, it can understand that mountain ridges usually contain shadows, textures, and sharp contours. It can then recreate those details in the larger version.
Pro Tip: If you are trying to upscale a screenshot with text, AI can often help sharpen letter edges and improve readability.
Resizing for the Web: Finding the Sweet Spot Between Speed and Sharpness
If you are resizing images for a website, image quality is only one part of the problem. You also need to think about page speed.
Uploading a 5MB image and letting the browser visually shrink it is a bad practice. Visitors still download the full 5MB file, even if the image appears small on screen.
The Professional Workflow
- Resize First: Set the exact pixel dimensions you need.
- Upscale if Needed: If your source image is too small, improve it before final resizing.
- Compress Last: Once the dimensions are correct, use the PicFlow AI Image Compressor to reduce file size.
By following this order, your images stay sharp while loading quickly.
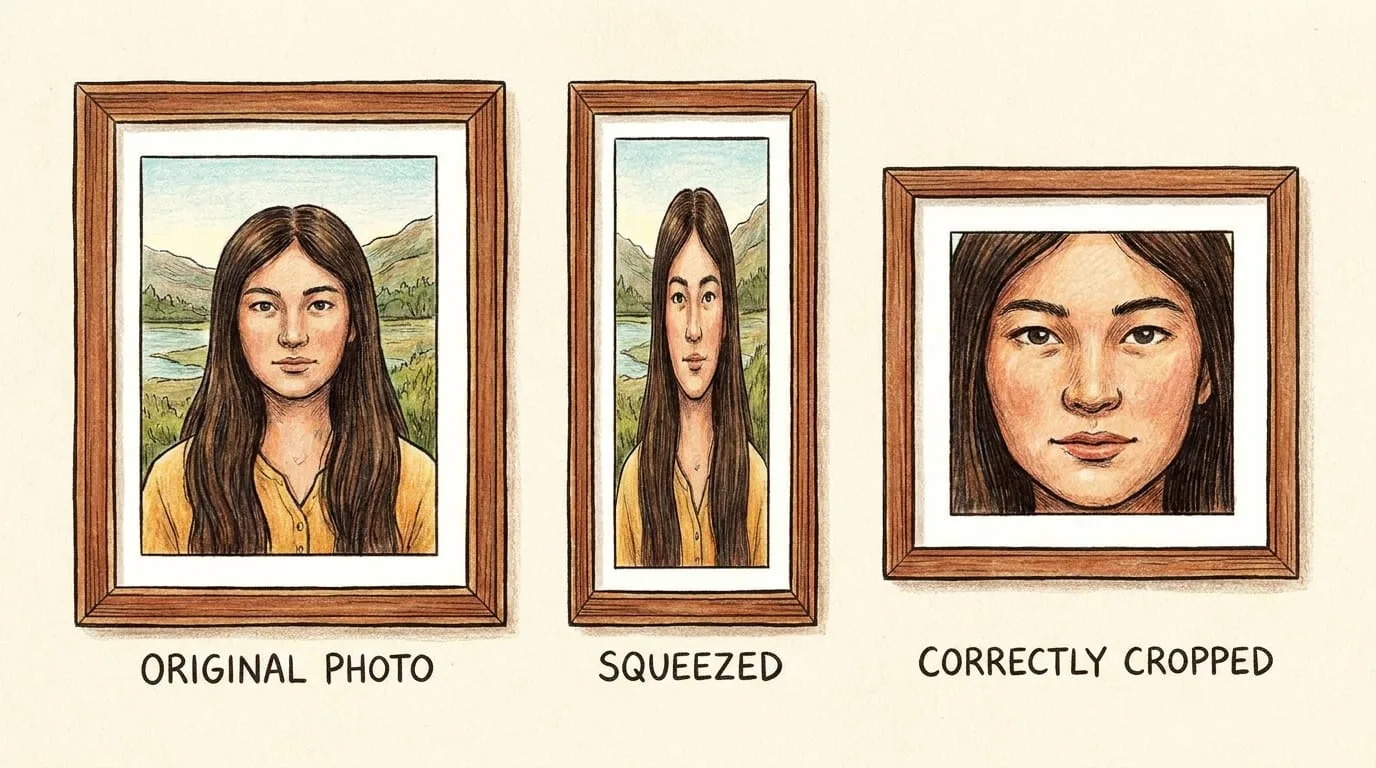
Common Mistakes: Aspect Ratio Distortion and How to Avoid It
The fastest way to ruin an image is aspect ratio distortion. This happens when you change width and height independently without keeping the original proportions.
Aspect ratio is the relationship between width and height. If your original photo is 4000x3000 and you force it into a 2000x1000 box, people and objects may look stretched or squeezed.
How to Avoid the Squeeze
- Lock the proportions: Keep the aspect ratio lock enabled when resizing.
- Crop, don’t squeeze: If you need a different shape, crop the image instead of stretching it.
How to Batch Resize 100+ Images Without Quality Loss
If you are a photographer, blogger, or e-commerce manager, resizing images one by one is slow and frustrating. Batch resizing lets you process many images at once.
Step 1: Gather Your Assets
Put all the images you need to resize into one folder. Make sure they are in common formats like JPG, PNG, WebP, or HEIC.
Step 2: Set Your Target Dimensions
Choose whether you want to resize by pixels, percentage, or preset dimensions for web and social media.
- Pixels: Best for exact website layouts.
- Percentage: Useful for general size reduction.
- Presets: Helpful for social media formats.
Step 3: Choose Your Optimization Settings
Select the right quality and format settings for your use case. For websites, WebP or AVIF can often reduce file size while keeping excellent visual quality.
Step 4: Download and Publish
After processing, download your resized images and use them on your website, store, blog, or social media account.
Integrating PicFlow AI into Your Content Workflow
Image quality should not be an afterthought. Whether you are a solo blogger or part of a marketing team, using a dedicated resizing tool helps prevent blurry or inconsistent images across your website.
Instead of relying on default export tools, use a dedicated image workflow that helps preserve quality, reduce file size, and prepare images for publishing.
FAQ: Frequently Asked Questions
Why does my image lose quality when I make it smaller?
This usually happens because of poor interpolation. When an image is reduced, the software must decide which pixels to keep and which to remove. If this is done poorly, the image may lose detail or appear jagged.
Can you increase image size without losing quality?
With traditional tools, enlarging images usually causes blur. AI upscaling can produce better results by reconstructing details instead of only stretching pixels.
What is the best pixel size for website images?
- Hero banners: 1920px to 2560px wide
- Blog images: 800px to 1200px wide
- Thumbnails: 150px to 300px wide
Is it better to resize by percentage or pixels?
For websites and professional use, resizing by pixels is usually better because it gives you exact control. Percentage resizing is useful for quick personal tasks.
How do I batch resize images for free?
You can use PicFlow AI to upload multiple images, apply resize settings, and download the optimized results in bulk.
Useful PicFlow Tools
- PicFlow AI Image Resizer
- PicFlow AI Image Compressor
- PicFlow AI Image Converter
- PicFlow AI Image Cropper
Frequently asked questions
What is the main takeaway from How to Resize Images Without Losing Quality — The AI-Powered Guide?
The guide explains practical image optimization steps that can help improve file size, loading speed, visual quality, and publishing workflows.
Can I use PicFlow tools while following this guide?
Yes. PicFlow includes browser-based tools for compression, resizing, conversion, metadata checks, background removal, and other image workflows.
Does image optimization help SEO?
Yes. Smaller, correctly sized images can improve page speed and Core Web Vitals, which supports better user experience and search performance.
Which image format should I use for websites?
WebP and AVIF are often efficient for websites, while JPG is widely compatible for photos and PNG is useful when transparency is needed.
Does PicFlow upload my images?
PicFlow is built around privacy-first browser workflows where supported, with processing handled for the action you request.
Related PicFlow tools
Related posts
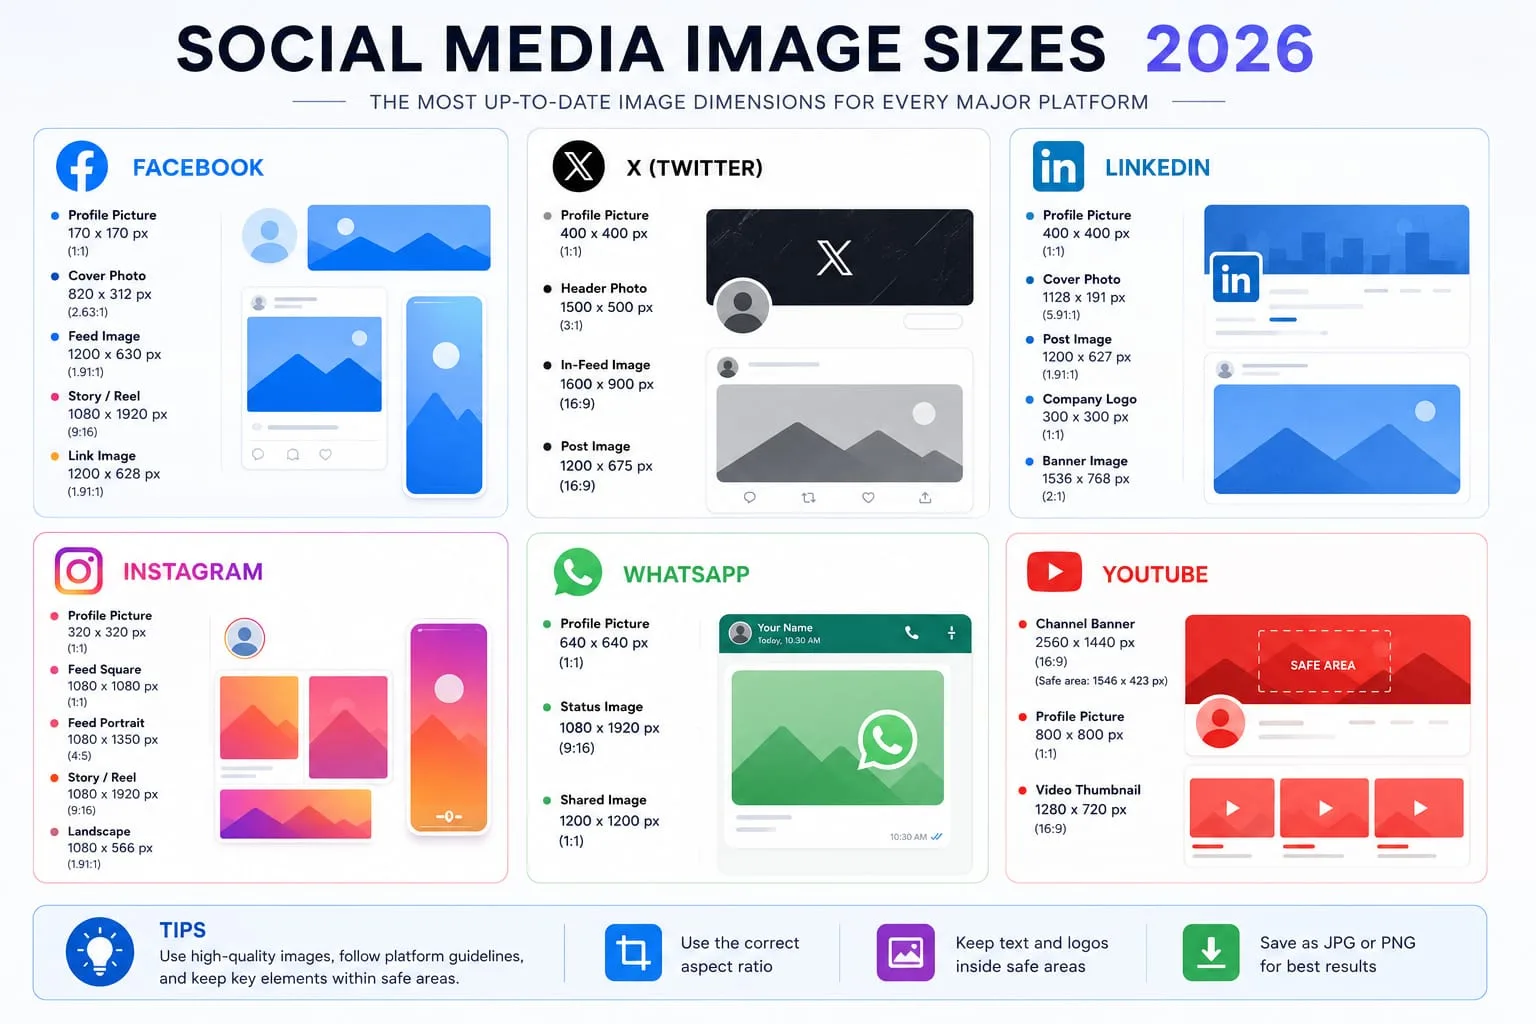
How to Resize Images for Every Social Media Platform in 2026
Learn the best image sizes for Facebook, X, LinkedIn, WhatsApp, Instagram, and YouTube. Resize, crop, preview, and export social images online with PicFlow AI.
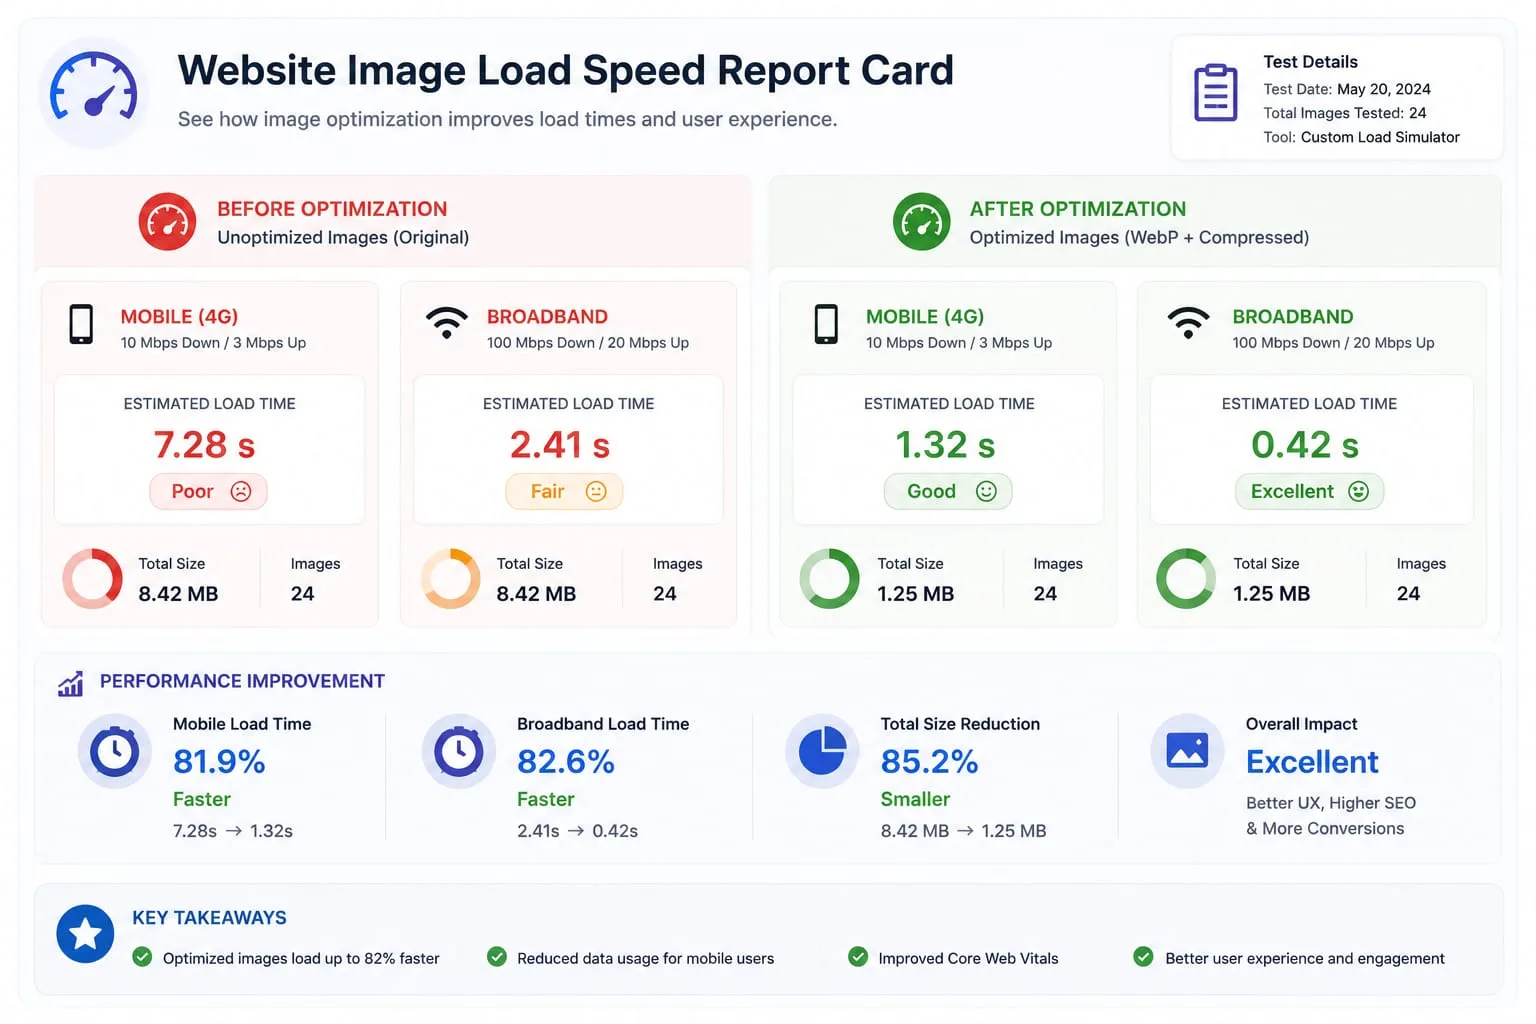
Image Loading Speed Test - Estimate Image Load Time Before Publishing
Learn how to test image loading speed, estimate load time on 3G, 4G, and broadband, and fix slow images before they hurt user experience or Core Web Vitals.
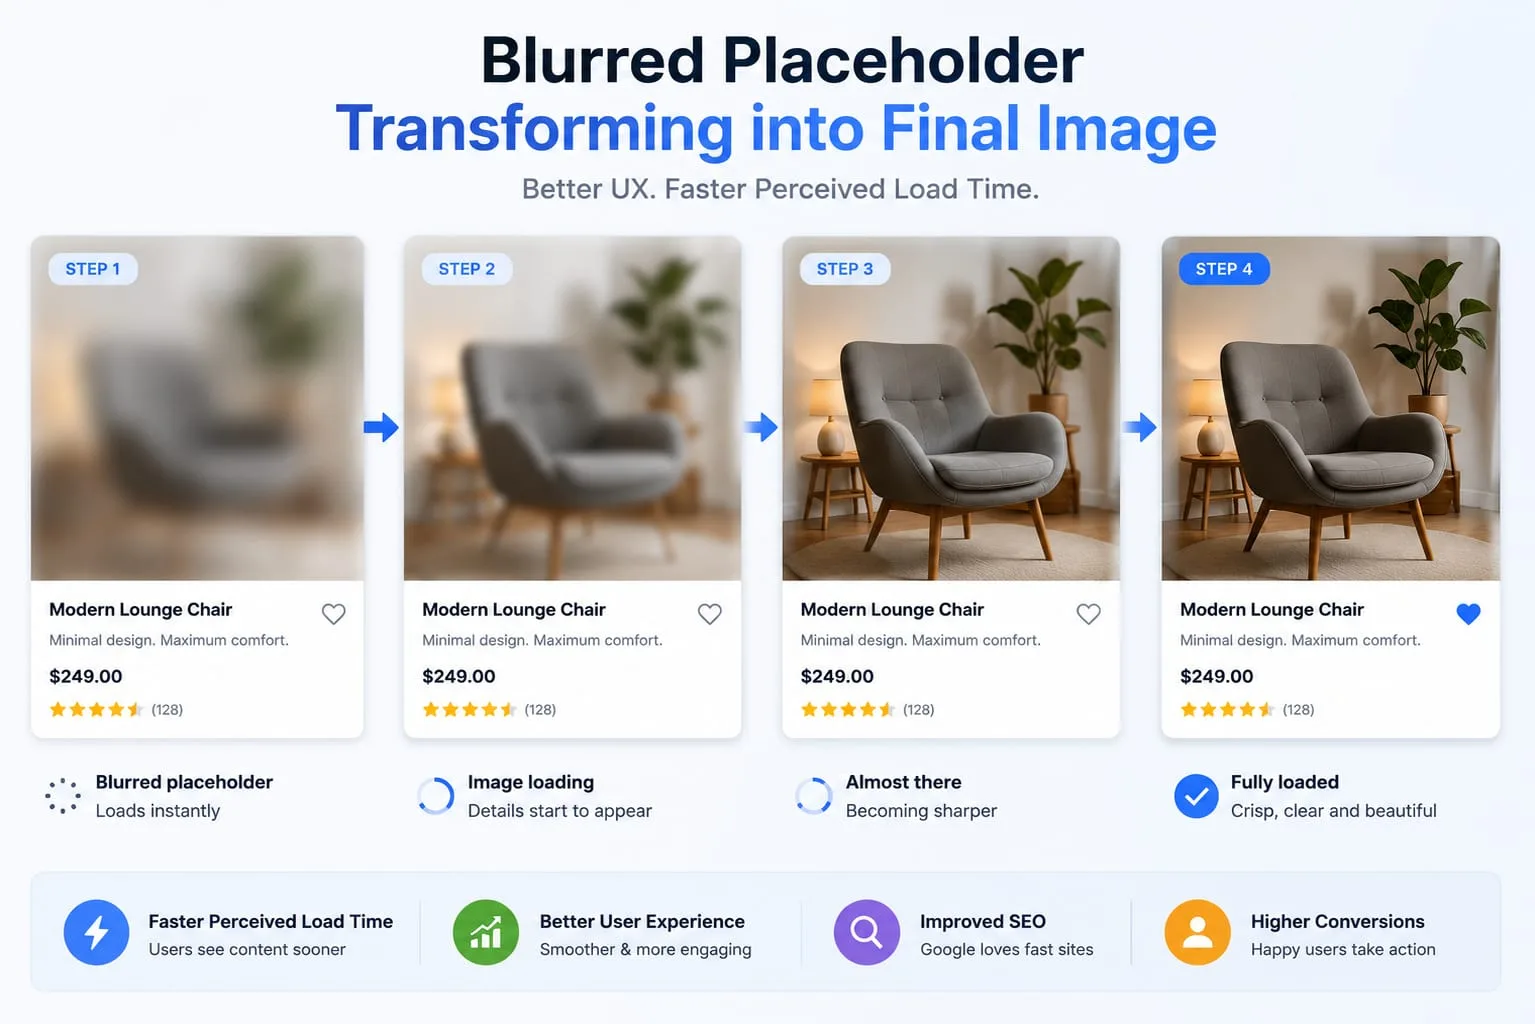
Image Placeholder Generator - Blur, Base64 and LQIP Guide
Learn how blur placeholders, Base64 placeholders, dominant color placeholders, and LQIP images improve perceived loading speed. Generate placeholders online with PicFlow AI.